


Here is another great tutorial for scrap fabric.
It really doesn't take much at all.
And with the added piece of ribbon,
you can attach a floral clip or bow very easily.
My Sofi hasn't taken it off since I made it for her!
Materials:
~ Headband (1/2"-1" wide) - You can find them in your local craft store.
OR...if you know you are going to make more than one,
~ Fabric scrap at least 16" in length and 2" wide
~ 3/8" grosgrain ribbon
~ Hot glue gun


You will cut your scrap fabric to be about 1/4" longer
than your headband which makes to about 16".
Make sure that it is long enough though before you cut!
And I like to use pinking shears.

Place glue on the inside of the headband
and lay fabric on there with it hanging over
the edge about 1/4".
We are only going to do about 2-3" sections at a time
until you get to the other end.

Don't worry if you fabric isn't flush.
We will pull it taut when we glue the other side down.

Fold up the end of the fabric piece and glue down.
Then fold over the fabric so that it looks like the photo.
Continue to place glue on the under side of
the headband and fold over the fabric.
This is where you will pull it taut
which will take out the wrinkle!

The underside will look a little messy.
That is what the ribbon is for.
I like to take a piece of grosgrain ribbon
since it is a sturdy ribbon and using a lighter,
I burn the edge to seal it.
Put a dab of hot glue at the end
and place your grosgrain ribbon on.
Continue to put glue down the center
and your grosgrain on top of the glue.
This will hide your "seam".

Now, we are going to place a piece of ribbon
on the side of the headband as it begins to
curve because this is where you will be
able to slip in an alligator clip bow or flower.
Place glue on the underside ONLY.

This is what it should look like with both pieces folded under.
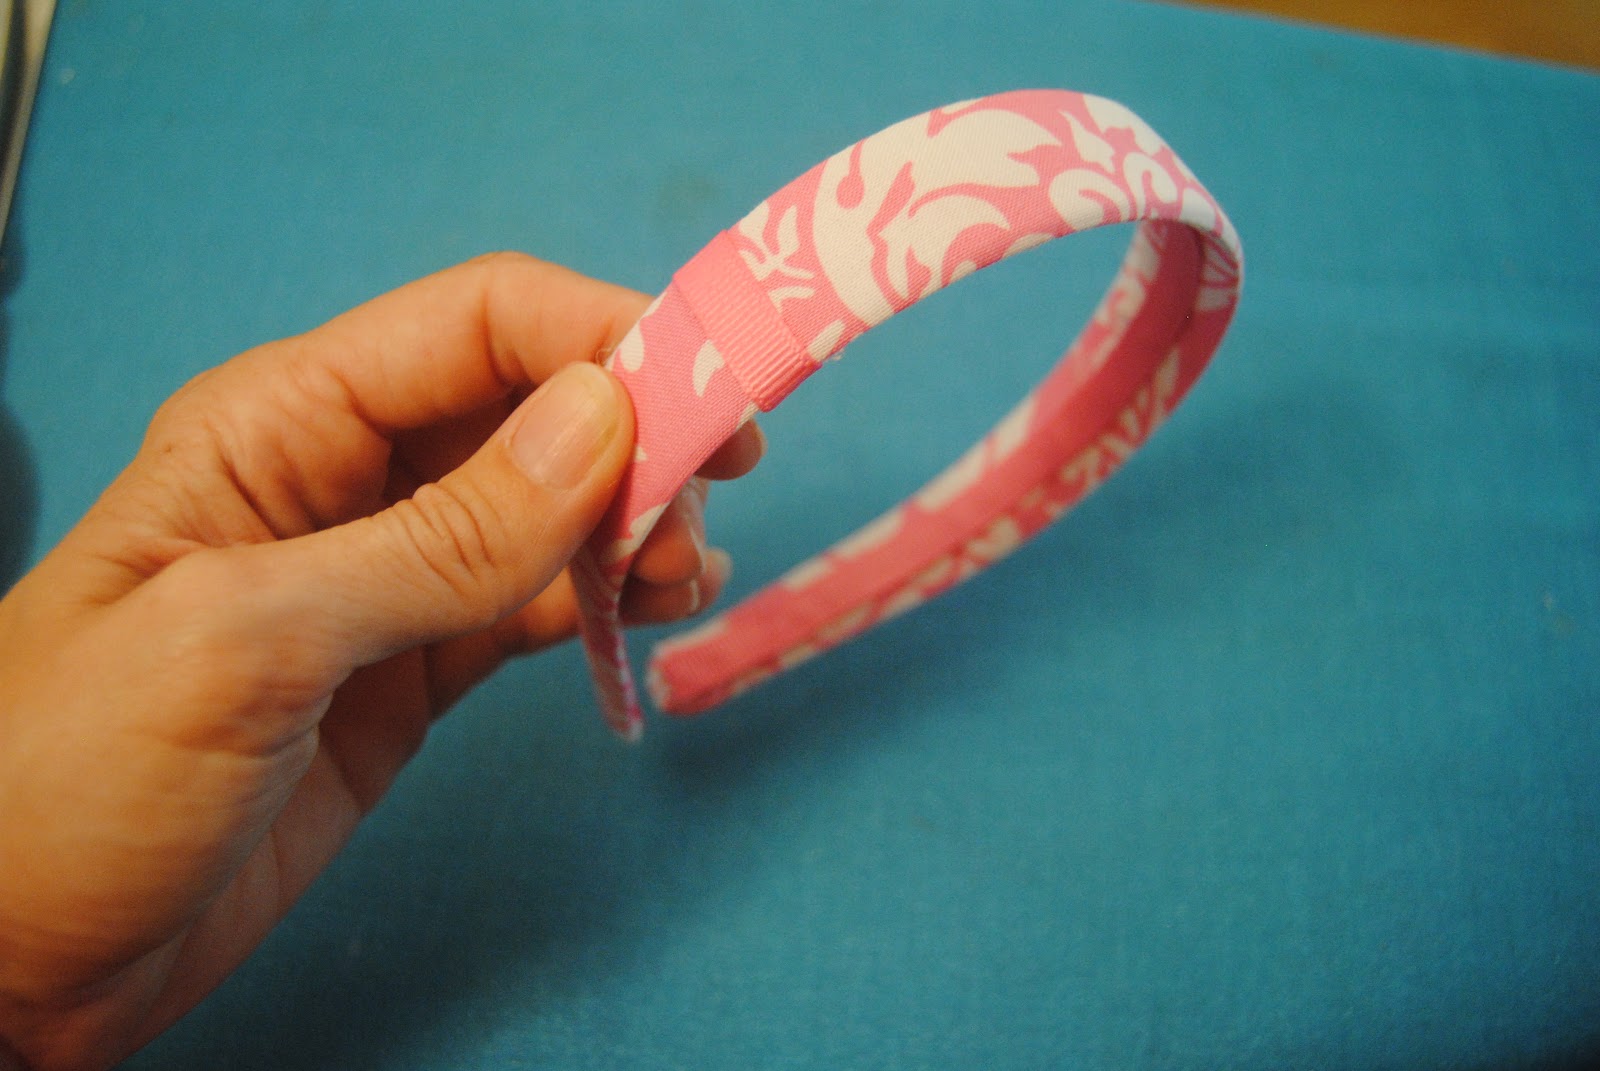
And here is your "loop" on top.
Still looks cute but even cuter when you attach something to it!

I used one of our {SIG} blooms to attach.
And it turned out so cute!
My Sofi loves it to pieces!

She wants to keep it.
I want to give it away.
Both pieces...the headband and the bloom.
I guess we will see who wins later.
And don't forget, we LOVE to see what you make!
Come post a photo on our Facebook Fan Page.
I think this would be great in patriotic fabric
along with a pair of scrappy flip flops, don't you?
{check out our tutorial for the flip flips HERE}
{check out our tutorial for the flip flips HERE}
Happy Monday Peeps!

5 comments:
So cute! I love that it's non-sew. You should let your daughter keep it, though. She looks beautiful in it!
Awe, thanks Linda! I'm not sure I have a choice. We'll see. Guess I can always order more headbands & whip up another one or 2 to give away.
I love this Astrid! Definitely want to try it!!
Love your headband with it's big flower! Thank you for sharing it at A Crafty Soiree, I've featured your project in this week's new post. Up tonight at midnight, come check it out when you get a chance :)
Love this tutorial!!! Did you know if you use velvet ribbon on the underside, they won't slide. :)
Post a Comment