Sometimes I get stuck on what to write.
But today, Candice came over to brainstorm some things with me
Man, I can totally remember the days that I skimped on top stitching.
I even have a couple of examples of my work before I knew better.
I think everyone goes through this while they are learning.
Yep, no top stitching.
I feel ashamed.
Dirty.
But that was in the past.
Long, long ago and I have learned better.
Hence, the reason I am writing this post.
First, what is top stitching?
A top stitch is a stitch sewn parallel to a seam or hem.
This helps keep the seams crisp and them hems, well...hemmed!
Top stitching takes your homemade sewing to another level.
Trust me.
It gives your garment a longer life!
Here are some tips to help you top stitch.
1) Press your hem or your seam prior to top stitching.
2) Use a longer stitch length. Why? Because your lines will come out straighter!
My favorite top stitch length is 4mm.
3) Press the seams after top stitching to remove any puckering.
4) Top stitch sashes, ties, etc to keep their form.
5) Use a thread color that matches until you are comfortable top stitching.
Then challenge yourself with a contrasting color!
Then challenge yourself with a contrasting color!
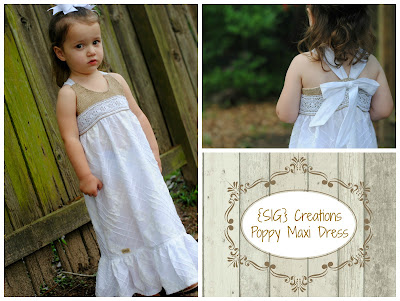
Notice the bodice is top stitched all the way around.
Even where the ruffle meets the bodice.
It really does make for a clean look!
Again, top stitching where the ruffle meets the skirt.
This gives the dress a much more professional look.
It is worth the extra minute or 2 to do!
And that is all, peeps.
This momma is going to bed!
This momma is going to bed!


