Showing posts with label children. Show all posts

Thursday, October 23, 2014

It has been a LONG time

Pin It Let's face it.  Life happens.  The blog went to the wayside.
I just gave up writing.
But going back through my blog and reading the posts has inspired me to write again.
I need to keep a chrono of my kids life and our experiences.

Today is the day I start over.
I am so excited to get the blog back up and running.
Share our lives with you.
What my little family does.

And I hope you come along for the ride!
I have lots on my mind and it seems that writing always helps me out.
But before I get into all that has happened, I have to share some updated pics.

They aren't the most recent but they will do for now.


We have our next set of family pics coming up on Friday.
I can't wait to see how much the kids have changed since last year!
And I feel great to be back!


{SIG}nature Creations

Friday, August 17, 2012

Back from Vacation

Pin It
It is official.
We survived our first family vacation.
So you understand, the thought of taking our triplets on a
16 hour road trip was less than appealing until this summer.

Why 16 hours?
Because that is how far my parents are away.

In Colorado.
Up in the mountains.
Way, way up.

This is the year we decided to tackle the challenge.
And the kids did beautifully.
Except for the occasional temper tantrum
but that could have happened here at home as well.

I'll be sharing some pics over the next few days.
These are some of my favorite moments.


Daddy and son...together.


My boy trying to be patient and learn how to play Old Maid.


This dog, Happy, was my son's best friend.


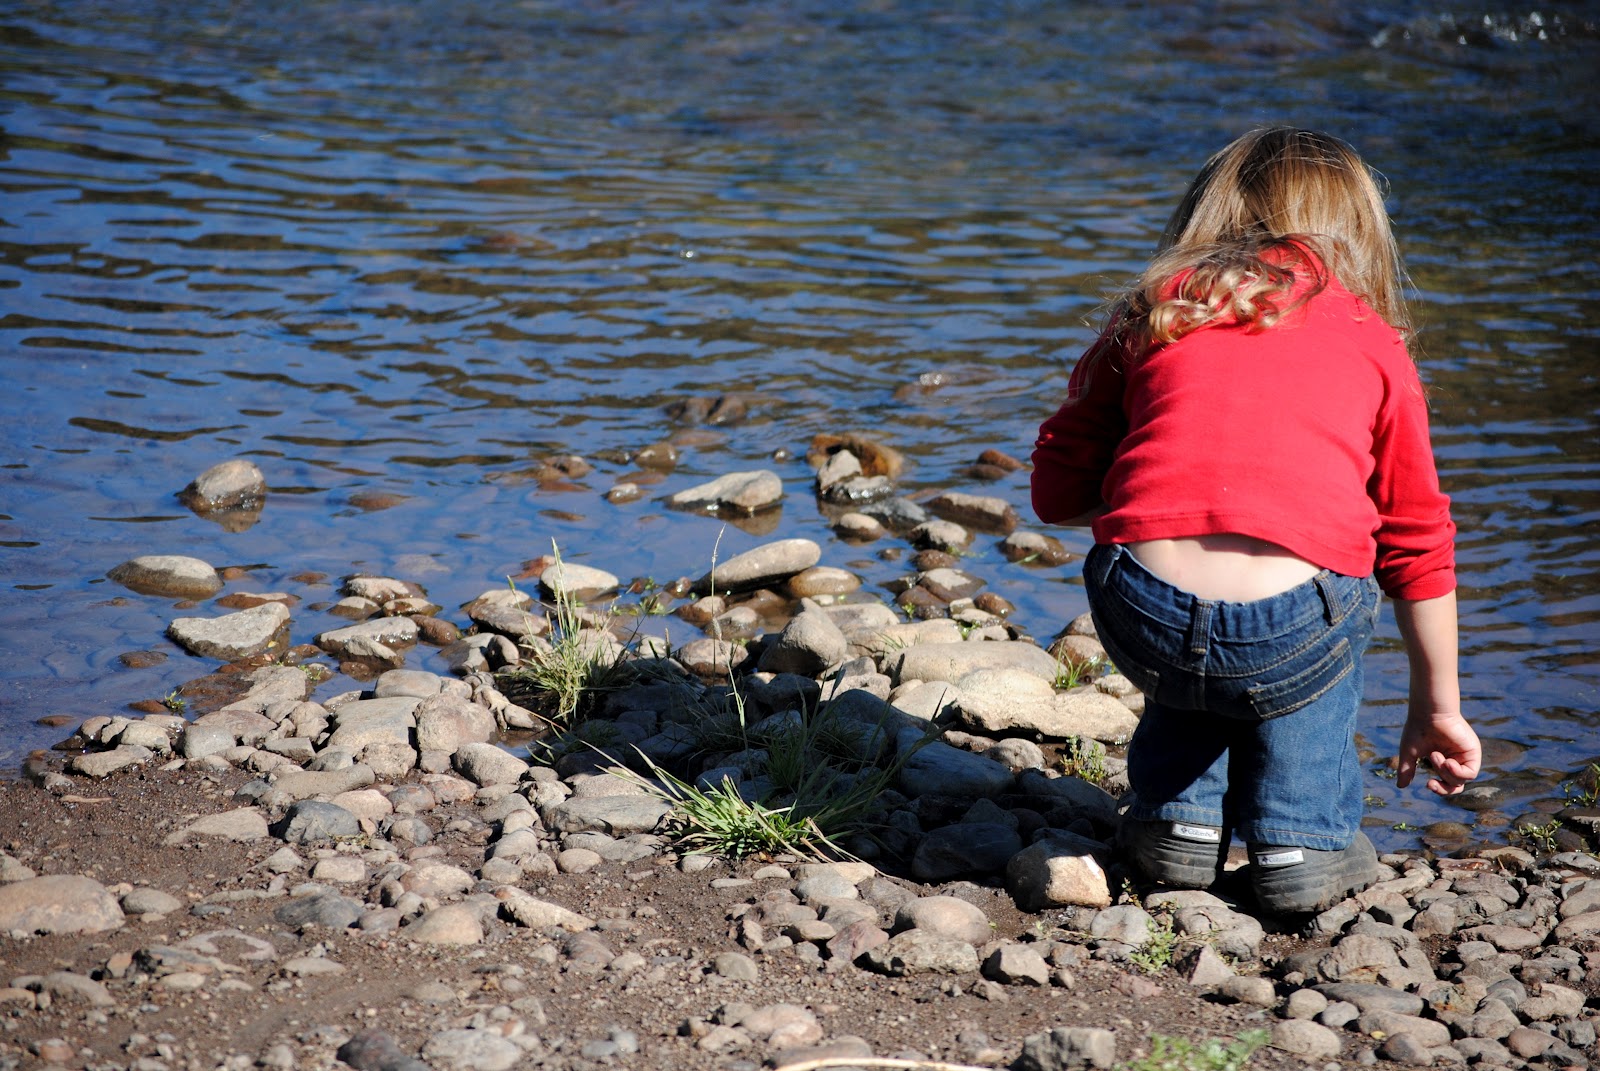
Miss Sofi discovering the water.
Actually they call it a "crick".


Ah, horseback riding!
One of my loves.
And my kids were finally introduced.
Gabi was by far our best and most natural rider.


Sofi caught a ride bareback.
{as did Gabi in the photo above this one}


My girls loved riding together!


The photo above truly captures my girls' spirits!

We spent 5 glorious days up in the mountains.
The weather was much cooler than here.
The sleeping was amazing.
The activities throughout the day were fun.

Best of all, no electricity.
No electronic games.
No tv.
No cell phone service.
No iPad.

Nuthin' but sweet nature!
More photos to come over the weekend.

Happy Friday Peeps!

{SIG}nature Creations

Monday, June 18, 2012

Chalkboard Placemat ~ WINNER

Pin It
I love to give things away.
And these chalkboard placemats are so cute.
My kids LOVE theirs and have been playing with them
constantly since I have made them.

Let's get down to business.
Who is our lucky winner?

 Going for in the middle of the pack!
Lucky #6 it is!


Miss Cathi, please contact me at signature.creations@hotmail.com
to claim your pretty placemats!

{SIG}nature Creations

Monday, June 4, 2012

D-Ring Adjustable Ribbon Belt Tutorial

Pin It

When my kids were younger,
I had a HARD TIME finding belts for them.
I know everything has an adjustable waist these days
but nothing can replace a cute belt.

What I love about the ribbon belts is that they are reversible.
You get 2 colors on a belt at one go!
Can't beat that.

And the best part, you can make a ton for CHEAP!
We all like cheap.
Should also only take a few minutes to make.
Great, easy project!

Materials:
~ 7/8" Grossgrain Ribbon - 1 yd of each color
{I recommend Offray, you can purchase at Joann's or Walmart.}
~ 2 1" D-rings
~ Stitch Witchery
~ Iron/Ironing Board
~ Sewing machine & notions
~ Lighter


Cut your 2 ribbons from about 24"-28" long.
For youth sizes, you may want to go as long as 30"-34".
Using a lighter, burn the edges to seal them shut
otherwise they will fray.


Lay out the ribbon on your ironing board.
Cut the stitch witchery to the same length as your ribbon.
Lay on top of one ribbon.


Place the 2nd ribbon on top of the first one,
covering the stitch witchery and iron.


Following as close to the edge as possible,
top stitch all the way around.
Now, this step isn't absolutely necessary with the
stitch witchery but I like the look of contrasting thread.


After I sew, I like to retrim the ends so they are even.


Slip on your 2 d-rings.


Cut a small piece of stitch witchery.
Fold over the ribbon about 2".


Iron the ribbon down.
Stitch witchery is a great notion to have laying around!


Go back to your sewing machine.
Stitch together your "loop" although the stitch witchery
is holding it down and in place.
I like to stitch a rectangle and then cross with an "X".
This will reinforce your loop.

And there you have it!
All done.
A super cute belt, one happy kid, and a momma that
didn't have to spend $10 to get a belt!


There are so many cute, printed ribbons as well.
You can make them for every season!
I know I have some cute patriotic ribbon
that would make for a super cute belt.

Show us your finished product on Facebook!
We love to see what you do.
Happy Monday Peeps!
{SIG}nature Creations
Related Posts Plugin for WordPress, Blogger...