Are you ready to finish this table runner?
As anxious as me to put it on that table?
Let's get going!
First, we need to iron our seams of the panels we sewed together on Monday.
Make sure you do it for every seam!
I also like to spray the seams with Magic Sizing to help them lay flat.


Now, we need to cut the back panel piece.
Actually, we will be sewing together two pieces.
Fold your front piece in half.
Measure from the middle to the end.

Mine turned out to be 30".
We are going to add .5 to that to make it 30.5".
I am going to cut TWO pieces 30.5" by 12.5".

Iron those bad boys.
Place the right sides together (of the back panel pieces).
You are going to sew along the 12.5" width.
This will be your CENTER line in the back of the table runner.

Iron out that seam.
Again, I like to use Magic Sizing to make it lay nice and flat.


Now it is time to put the front and the back together.
Using that center seam on the back, line it up with the center of the front.
Do this with RIGHT SIDES facing one another.
Your edges should line up nicely.
On mine, you can see my back is longer than the front.
I am not going to worry about that right now.
I am not going to worry about that right now.
If you like to pin, I would pin your two pieces together now.
After you are done pinning, go to your sewing machine.
We are going to sew the two pieces together BUT we need to leave
We are going to sew the two pieces together BUT we need to leave
a 3" opening so we can turn this pretty table runner out!
{i like to star about 1.5" from the center seam}


When you get to your first corner, place your needle in down position.
Raise your foot (not your actual foot, the sewing foot), pivot the fabric,
place the foot back down, and continue sewing.
You will do this for all four corners.
You will do this for all four corners.


Before you finish, make sure you leave a big enough space for your hand to reach in!
If you happen to have extra of the backing, go ahead and cut it now.
We are also going to cut our corners.


Let's turn this pretty table runner right side out!
Reach in to the opening with your hand and grab one end.
Pull it out.
Do it again for the other end.
Do it again for the other end.

Using something with a blunt tip, you are going to poke your corners out.

We are going to iron our table runner nice and flat.
This takes practice and you have to be careful going across the opening,
making the creases so that they match up when you top stitch.

Now, I didn't put this in the list of materials and I am sorry for that,
BUT if you happen to have some Stitch Witchery laying around,
cut a pieces the width of your opening, insert and iron closed.
{that is a little trade secret of mine and of course I forgot the photo}
We are nearing the end.
If you have chosen to add some trim, let's do that now.
I was going to use the red pleated ribbon but I'm switching
to the big, white rick rack instead.
Lay the rick rack across the bottom or where ever you would like to put it.
Cut the width of the table runner.
Using a lighter, make sure to seal the edges otherwise they will fray.
You could also use Fray Check but I find the lighter much cheaper & more efficient!

Sew that baby on there!
Look at where my needle placement is.
Look at where my needle placement is.
Right smack dab in the middle of the rick rack.
Don't go anywhere yet!
We have to finish this loveliness up.
We have to finish this loveliness up.
Top stitch all the way around the edge at a 1/8" allowance.

NOW...you are DONE!


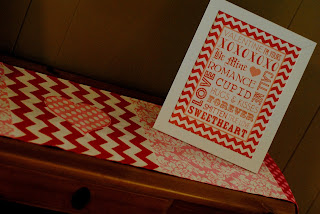
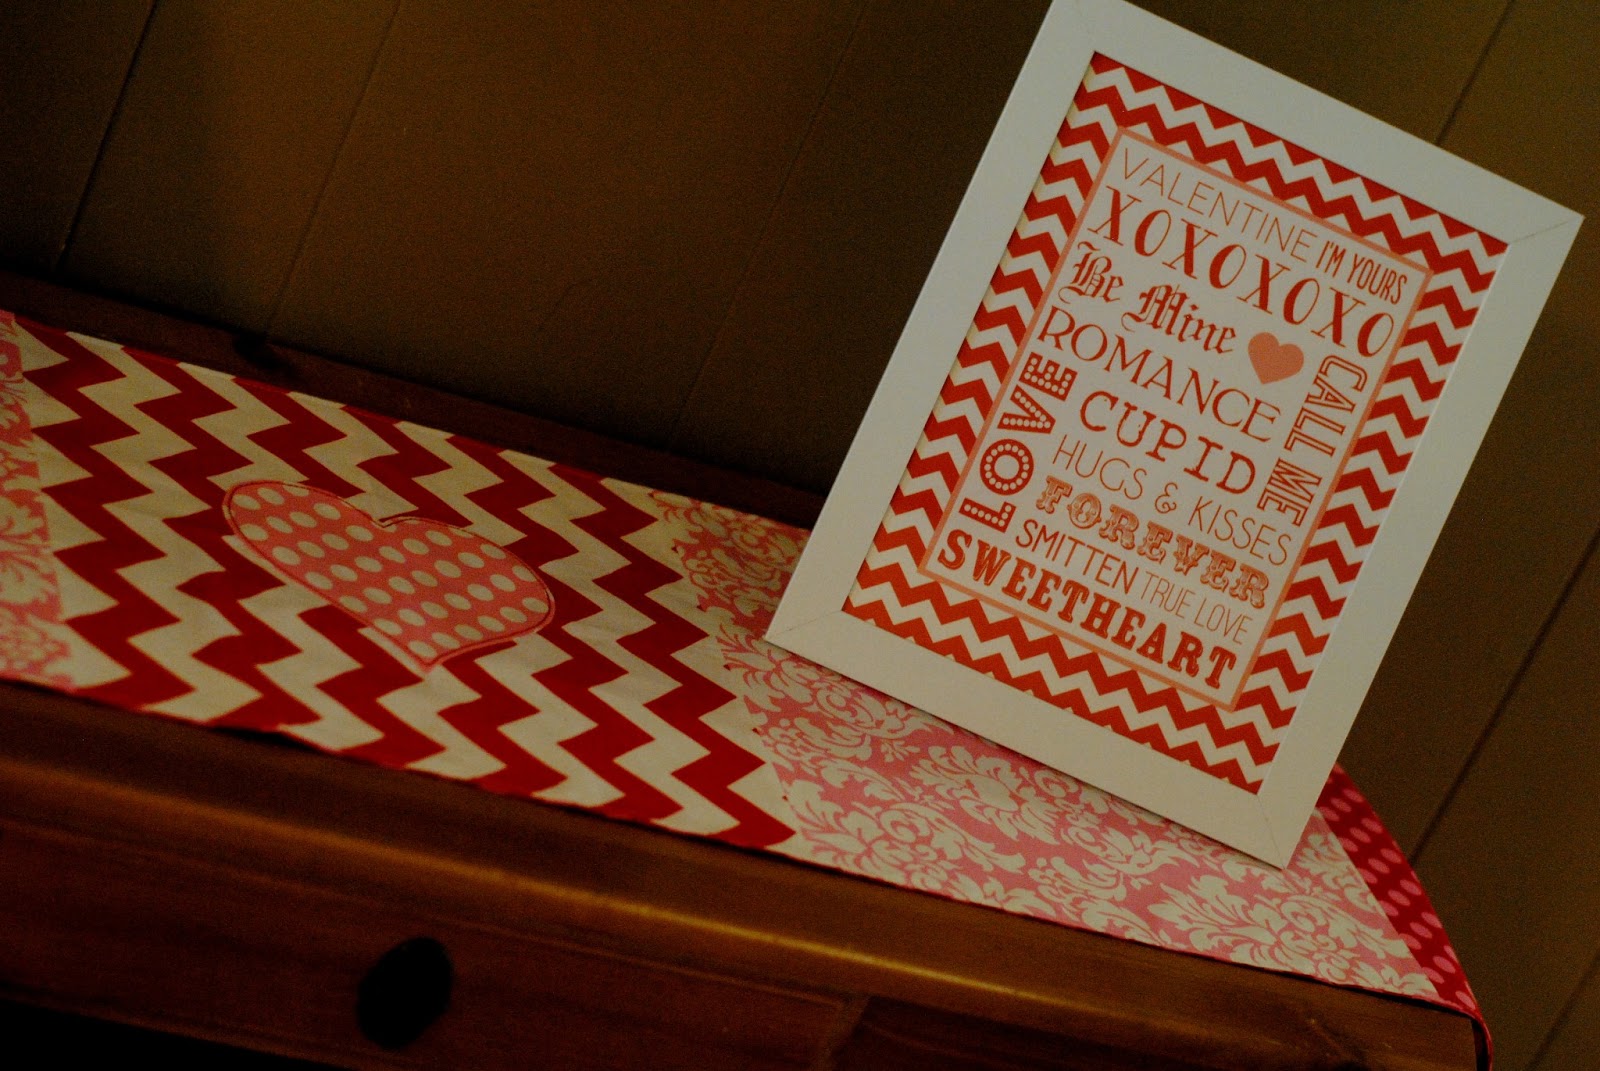
Don't you love the subway art, by the fabulous Yaya Design.
She has graciously created this for YOU to snag for free.
Just click HERE to download & print!
Isn't it pretty?
Wanna do another one for Easter?
Go on ahead!
Shoot, do one for Memorial Day/4th of July.

{since i couldn't get outside, i put it against a white wall in our house}

{BUT...this is actually where the wall table is}
Don't you love the subway art, by the fabulous Yaya Design.
She has graciously created this for YOU to snag for free.
Just click HERE to download & print!
Isn't it pretty?
Wanna do another one for Easter?
Go on ahead!
Shoot, do one for Memorial Day/4th of July.
And Halloween.
Oh, don't forget Thanksgiving.
And the ultimate one of the year, CHRISTMAS.
Mix your fabrics.
Do some corduroy.
Do some corduroy.
Or some other fancy stuff.
Add more embellishing.
Get it embroidered with initials, family name, or monogram.
Can you tell?
The possibilities are ENDLESS!
Now, I hope you take some time to photograph those beauties & show them to me.
I'm excited!
And let me know if you loved the sew-along.
I would like to host more!
Have a happy Wednesday Peeps!